Install and set up the MonoCloud React SDK
This guide shows how to install the MonoCloud React SDK and connect a React single-page application with MonoCloud authentication.
By the end of this guide, you will have:
- A MonoCloud Single Page App configured in the Dashboard
- The SDK installed in your project
- The
<MonoCloudAuthProvider>wrapping your application
Sign up and configure MonoCloud
If you already have a MonoCloud account and Single Page App, skip ahead to Install the MonoCloud React SDK.
Create a MonoCloud account
If you don’t have an account yet, sign up at: https://www.monocloud.com
Create a Single Page App
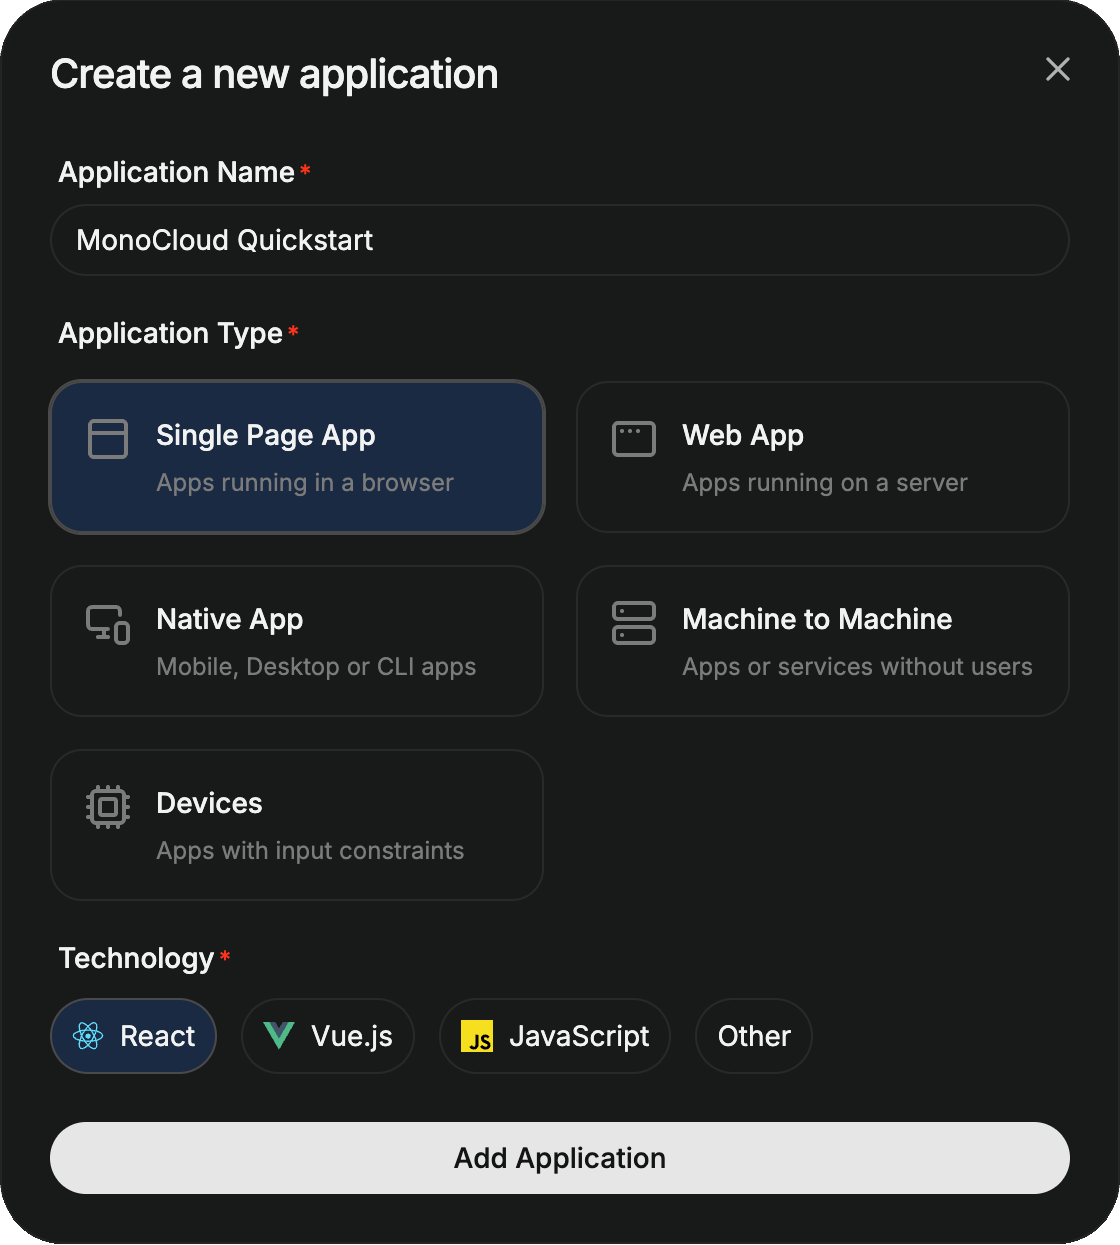
In the MonoCloud Dashboard:
- Click Add Application
- Select Single Page App
- Choose React
- Create the application
Each Single Page App represents a single browser-based app secured by MonoCloud.
Configuring your Single Page App
Open your application and configure the following URLs.
Redirect URLs
These URLs tell MonoCloud where to redirect users after authentication events.
For local development with the Vite default port, configure:
- Callback URLs:
http://localhost:5173 - Sign-out URLs:
http://localhost:5173
By default, the provider processes the callback at your application's origin, so the callback URL is simply the URL your app is served from. If you handle the callback on a dedicated route (see Handle sign-in and sign-out callbacks), register that route instead - for example, http://localhost:5173/callback.
Cross-Origin URLs
A single-page app calls MonoCloud's endpoints directly from the browser, so the origin your app is served from must be allowed:
- Cross-Origin URLs:
http://localhost:5173
Replace these with your production URLs before deployment.
Create a Vite + React project
If you already have a project, skip this step.
npm create vite@latest <your-app-name> -- --template react-ts
cd <your-app-name>
Node.js 18 or later is recommended.
Install the MonoCloud React SDK
Install the SDK using your package manager:
npm install @monocloud/auth-react
Add the provider
Wrap your application with <MonoCloudAuthProvider>. It creates a single shared MonoCloudWebJSClient instance and makes the authentication state and actions available to every component below it through the useAuth() hook.
import { StrictMode } from "react";
import { createRoot } from "react-dom/client";
import { MonoCloudAuthProvider } from "@monocloud/auth-react";
import App from "./App.tsx";

createRoot(document.getElementById("root")!).render(
  <StrictMode>
    <MonoCloudAuthProvider
      tenantDomain="https://<your-domain>"
      clientId="<your-client-id>"
    >
      <App />
    </MonoCloudAuthProvider>
  </StrictMode>
);
Configuration reference
| Option | Required | Description |
|---|---|---|
tenantDomain | Yes | MonoCloud tenant domain from Application Information in the Dashboard |
clientId | Yes | Client ID from Application Information in the Dashboard |
The <MonoCloudAuthProvider> component accepts additional props. You can find the complete list in the API reference.
Process callbacks
By default the provider completes the sign-in and sign-out callbacks for you when it mounts - no extra wiring is required. The authentication state becomes available through useAuth() once the callback has been processed.
For full details on routing, return URLs, and integrating with a client-side router, see Handle sign-in and sign-out callbacks.
Next steps
Wire up the rest of the integration: